As a passionate gardener, you know that well-maintained tools are crucial for a thriving garden. This guide will show you how to clean and maintain your gardening tools effectively. You’ll learn how to keep everything from simple hand tools to complex power equipment in great shape. These tips are easy to follow, whether you’re an experienced gardener or just beginning. They’ll help you keep your tools in top condition for the next gardening season.
Introduction to Gardening Tool Maintenance
Keeping your gardening tools in good shape is key to their efficiency and longevity. Regular cleaning stops rust, grime, and bacteria from building up. This keeps your tools safe and working well.
Why Keeping Your Tools Clean is Important
There are many reasons to clean and maintain your gardening tools:
- It makes your tools last longer, saving you money
- Your tools will work better and easier
- It stops plant diseases and pests by removing harmful stuff
- Your tools will look and work like new, making your garden look better
Overview of the Cleaning Process
Cleaning your gardening tools is easy and follows a few steps:
- Take apart complex tools for a deep clean
- Wipe off dirt, debris, and grime from the tools
- Dry and oil the tools to stop rust and wear
- Sharpen and hone the blades for the best performance
- Protect the tools from rust and store them right
By doing these steps, your gardening tools will always be ready for any garden task.
Gather the Right Cleaning Supplies
Before you start cleaning your gardening tools, make sure you have the right supplies. You’ll need everything from degreasers to scrub brushes. This section will show you what you need to get your tools back in top shape.
Here are the cleaning supplies you’ll need:
- Mild soap or detergent
- Warm water
- Stiff-bristled scrub brush
- Rags or clean cloths
- Penetrating oil or lubricant
- Sharpening stone or file
- Rust remover or rust converter
These gardening tool cleaning supplies are key for cleaning everything from dirt to rust. With these necessary cleaning materials, your tools will be ready for the garden again.
| Cleaning Supply | Purpose |
|---|---|
| Mild soap or detergent | Cuts through grease and dirt |
| Warm water | Helps dissolve and rinse away debris |
| Stiff-bristled scrub brush | Scrubs away tough, stuck-on grime |
| Rags or clean cloths | Wipes and dries tools after cleaning |
| Penetrating oil or lubricant | Protects and conditions moving parts |
| Sharpening stone or file | Restores the edge on blades |
| Rust remover or rust converter | Removes and prevents rust formation |
With these recommended cleaning products and tools for cleaning gardening equipment, you’re set to clean your tools right.
Disassemble Complex Tools for Thorough Cleaning
For your gardening tools, sometimes you must go the extra mile for a deep clean. Tools like pruners, loppers, or power equipment often need to be taken apart. This lets you clean every part, making sure they’re ready for your garden again.
Tips for Disassembling and Reassembling
- Check the manufacturer’s instructions for how to safely take apart your tool. This helps avoid damaging any fragile parts.
- Arrange the parts in the order you removed them. This makes putting the tool back together easier.
- Use the correct tools, like screwdrivers or pliers, to avoid damaging the tool while disassembling it.
- Clean each part thoroughly after taking it apart. Remove dirt, rust, or debris.
- Put the tool back together carefully, making sure everything fits right and works well.
- Apply a thin layer of lubricant to parts that move. This keeps them running smoothly.
Disassembling complex gardening tools ensures a deeper clean. This can make your tools last longer and work better. Always follow the manufacturer’s instructions and use the right tools to avoid damage.
Removing Dirt, Debris, and Grime
Keeping your gardening tools clean is key to their lasting well and working right. Start by getting rid of dirt, debris, and grime on your tools. Use scrubbing, degreasing, and rinsing to do this.
First, brush off any loose dirt or debris from the tool. Use a stiff-bristle brush or a rag for this. Focus on areas where dirt and grime tend to stick.
Don’t forget to clean out the nooks and crannies. These spots can hold onto dirt and grime.
- Next, use a degreasing solution to tackle oily or sticky spots. You can find these products at most hardware or home improvement stores.
- Scrub all parts of the tool well to get rid of grime. This makes sure it’s ready for the next cleaning step.
- Then, rinse the tool with clean water. This removes any leftover dirt, debris, or degreasing solution.
After cleaning your tools, they’re ready for storage or use in your garden. This step is important for the next steps, like sharpening, lubrication, and rust prevention.
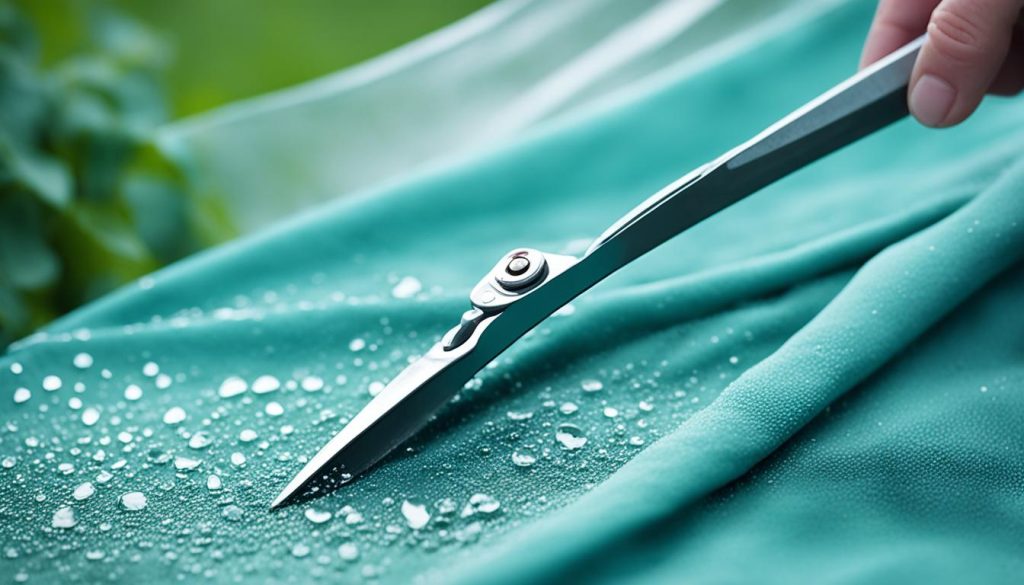
| Tool Type | Recommended Cleaning Approach |
|---|---|
| Pruners | Disassemble, scrub joints and blades, degrease, rinse, and dry. |
| Shovels and Spades | Brush off dirt, scrub metal surfaces, rinse, and dry. |
| Rakes | Brush off debris, scrub tines, rinse, and dry. |
| Loppers | Disassemble, scrub joints and blades, degrease, rinse, and dry. |
“Keeping your gardening tools clean and well-maintained is the key to prolonging their lifespan and ensuring they perform at their best.”
How to Clean Gardening Tools
Keeping your gardening tools clean is key to their lasting well and working right. Tools like pruners, shovels, and lawn mowers need regular cleaning. This guide will show you how to clean and care for different gardening tools.
Cleaning Hand Tools
Start by cleaning hand tools like pruners and trowels. Remove dirt and sap with a stiff-bristle brush or a damp cloth. Then, use soap and warm water to clean the tool, focusing on crevices and joints.
Rinse the tool well and dry it before putting it away.
Cleaning Power Tools
For power tools like lawn mowers and trimmers, unplug them first. Then, use a soft-bristle brush or a damp cloth to clean off grass and dirt. Use compressed air for hard spots.
Wipe the tool dry and apply lubricant to moving parts.
Cleaning Shovels and Spades
Begin by removing dirt from shovels and spades. Use a stiff-bristle brush or a putty knife for stuck-on soil. Then, wash the tool with soap and water, making sure to clean every part.
Rinse and dry the tool before storing it.
Cleaning your gardening tools after each use is important. By following these steps, your tools will stay in great shape for gardening.
Drying and Lubricating Your Tools
After cleaning your gardening tools, drying and lubricating them is key. This step stops rust, keeps tools working well, and keeps them in good shape for years. Spending a little extra time on this can make your gardening tools last longer. It ensures they’re ready for your next project outside.
Drying Your Tools
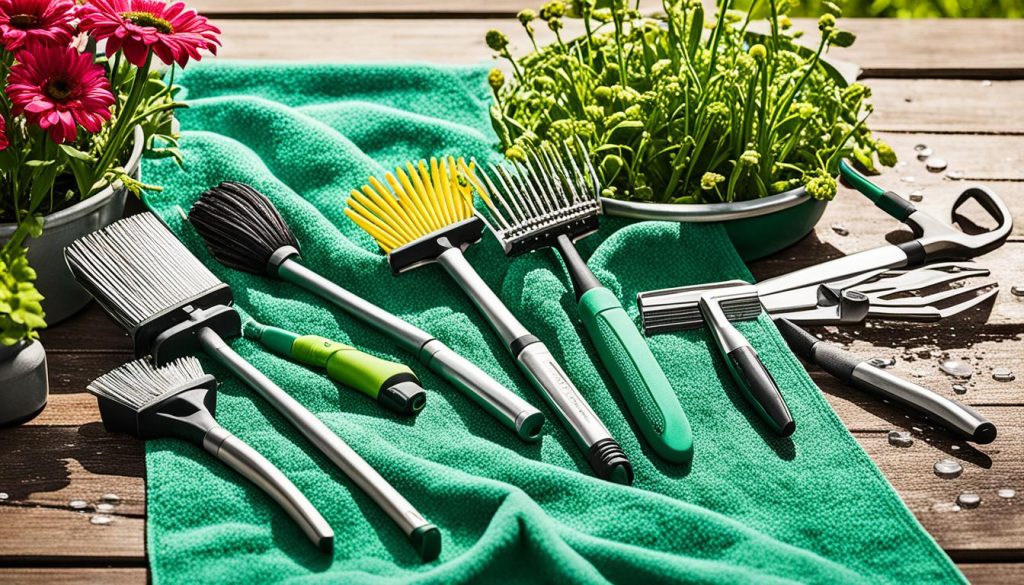
Start by drying each tool with a clean, dry cloth. Focus on spots where water might hide, like in crevices. For wet tools, a hairdryer on a low, cool setting can help dry them faster. But, don’t get too close to avoid damaging parts.
Lubricating Tool Surfaces
Once your tools are dry, apply a thin layer of lubricant. Use a machine oil or a rust-preventative spray made for gardening tools. Put it on moving parts, hinges, and metal areas. Then, remove any extra lubricant to avoid mess.
| Lubricant Type | Benefits |
|---|---|
| Machine Oil | Helps reduce friction and wear on moving parts |
| Rust-Preventative Spray | Provides a protective barrier against moisture and corrosion |
| WD-40 or Similar Penetrating Oil | Penetrates to loosen seized parts and prevents future sticking |
By drying and lubricating your gardening tools right, you keep them working well and in good shape for many seasons.
Sharpening and Honing Garden Tool Blades
Keeping your gardening tools sharp is key for their best performance. Whether you’re pruning, digging, or mowing, sharp blades make a big difference. We’ll look at how to sharpen and hone blades on pruners, shovels, lawn mowers, and other tools.
Techniques for Sharpening Different Blade Types
There are many ways to sharpen your gardening tools, based on the blade type and what you like. Here are some top methods:
- Using a sharpening stone: This method involves moving the blade over a whetstone or sharpening stone to sharpen it.
- Employing a power tool: For faster sharpening, use a bench grinder, angle grinder, or electric sharpener.
- Honing with a file: A hand-held file can sharpen and hone blades for a precise sharpening.
- Applying a sharpening service: If you don’t want to sharpen tools yourself, many professional services can do it for you.
It’s important to follow the maker’s instructions and be safe when sharpening your tools.
| Tool Type | Recommended Sharpening Technique | Frequency |
|---|---|---|
| Pruners | Sharpening stone, file | Every 6-12 months |
| Shovels | Bench grinder, angle grinder | Annually |
| Lawn Mower Blades | Power tool, professional sharpening service | Every 1-2 years |
By sharpening your tools right, you get clean, precise cuts every time. This makes gardening tasks easier and more fun.
Rust Prevention and Removal
Rust can be a big problem for gardeners, slowly eating away at your tools. But don’t worry! With the right steps, you can stop and remove rust, making your tools last longer.
Stopping Rust in Its Tracks
To prevent rust, keep your tools clean, dry, and stored right. Clean them well after each use to remove dirt and moisture. Then, apply a thin layer of rust-inhibiting oil or grease to protect them from the elements.
Storing your tools correctly is also key. Keep them in a dry, well-ventilated spot, away from moisture and humidity. Use tool chests or cabinets with dehumidifiers to keep them rust-free.
Tackling Existing Rust
If your tools are already rusty, don’t give up hope. There are ways to remove rust and make them look new again. Use a rust removal solution, a wire brush, or sandpaper to gently remove the rust. Then, apply a protective coating to stop rust from coming back.
| Rust Treatment Method | Effectiveness | Ease of Use |
|---|---|---|
| Rust Removal Solution | High | Moderate |
| Wire Brush | Moderate | High |
| Sandpaper | Low | High |
By preventing and removing rust from your gardening tools, you’ll enjoy longer-lasting equipment. This saves you time and money over the years.
Storage Tips for Keeping Tools in Top Condition
Storing your gardening tools right is key to keeping them in good shape all year. By using a few simple tips, you can avoid damage, rust, and wear. This makes sure your tools are ready to go when gardening season comes back.
Prepare Tools for Off-Season Storage
Before you put away your gardening tools, clean and lubricate them first. This protects the metal from rust and keeps it working smoothly next time. Use a clean cloth to wipe off dirt, debris, or moisture. Then, apply a thin layer of oil or rust-preventive spray to the metal parts.
Choose the Right Storage Location
Where you store your gardening tools matters a lot for their life span. Don’t keep them in damp, humid places like basements or sheds, as they can rust. Instead, pick a dry spot with good air flow, like a garage or shed.
Organize and Protect Your Tools
- Use storage racks, pegboards, or toolboxes to keep your tools tidy and within reach.
- Hang long tools like shovels, rakes, and hoes to stop them from bending or warping.
- Put sharp tools in protective sheaths or covers to avoid accidents and keep their edges sharp.
- Wrap delicate tools in acid-free paper or cloth to protect them from dust and moisture.
By using these storage tips, your gardening tools will stay in great shape for your next project. Proper storage is the secret to making your tools last longer and work better every season.
Maintaining Wooden Tool Handles
Wooden tool handles are a common sight in many gardening toolboxes. They need special care to stay in good shape. Keeping them well-maintained is key to preserving their components, ensuring a comfortable grip, and preventing damage.
Cleaning and Conditioning
Begin by cleaning the wooden handles with a mild soap and water mix. Stay away from harsh chemicals or rough cleaners, as they can harm the wood. After cleaning, apply a thin layer of linseed or tung oil to keep the wood moist and strong.
Sanding and Refinishing
If your wooden handles are rough or worn, sand them down and refinish them. Use fine-grit sandpaper to smooth out any rough spots. Then, apply a light coat of wood sealant or varnish to protect the handle and keep it grippy.
| Wooden Tool Handle Maintenance Tips |
|---|
|
By following these simple steps, you can keep your wooden gardening tool handles in great shape. This ensures a comfortable, secure grip and extends the life of your tools. A little time spent on maintenance can make a big difference in your gardening tools’ performance and longevity.
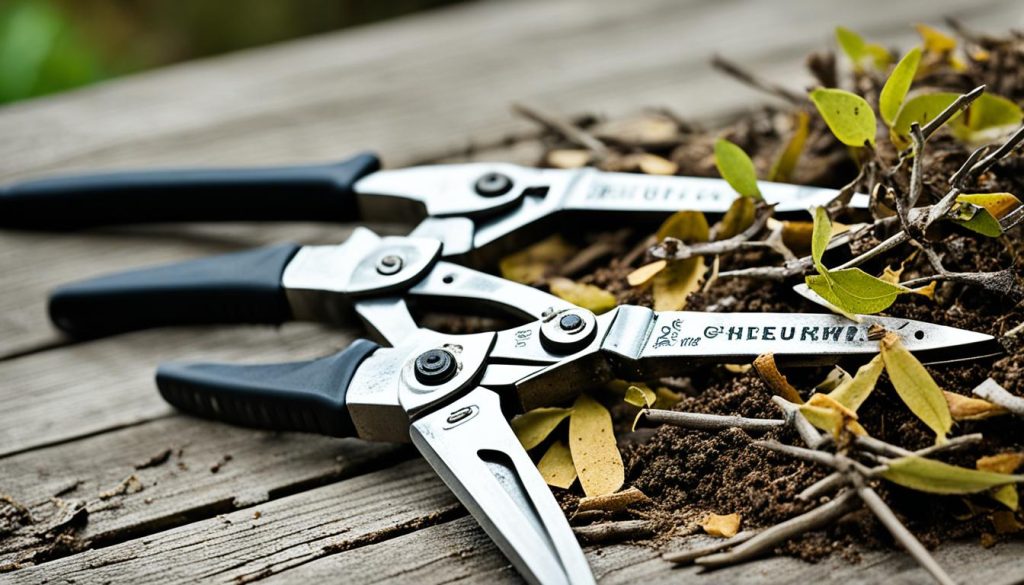
Prolonging the Life of Your Gardening Tools
Buying high-quality gardening tools is a big investment. With the right care, you can make them last longer. Keeping your tools in good shape is key to making your money go further.
Regular cleaning is a big step in keeping your tools around longer. Dirt and grime can cause rust and wear them out too soon. Also, keep your tool blades sharp to make gardening easier and more efficient.
Where you store your tools matters a lot too. Keep them in a dry place away from the weather. Using oil or lubricant can also stop rust and keep them working well.
Maximizing Your Tool Investment
Follow these tips to make your gardening tools last longer. Clean, sharpen, and store them right to keep them in top shape. This way, you’ll get more use out of your tools.
| Maintenance Task | Frequency |
|---|---|
| Cleaning | After each use |
| Sharpening | Annually or as needed |
| Rust prevention | Regularly, using a thin layer of oil or lubricant |
| Storage | In a dry, clean environment |
Putting in the effort to care for your tools properly will help them last longer. These tips will help you use your gardening tools for years to come. So, take good care of your tools to make your gardening a success.
Sanitizing Gardening Tools for Disease Prevention
Keeping your gardening tools clean is key for their life and to stop plant diseases. By cleaning your tools often, you keep your plants safe from harmful germs. This way, your garden stays healthy and full of life.
To clean your tools, use a mix of one part bleach with nine parts water. Wipe down the tools, including blades and handles, with this solution. This kills off bacteria, fungi, and viruses on your tools.
You can also use special products made for cleaning gardening tools. These products have things like quaternary ammonium compounds or hydrogen peroxide. They kill germs and stop diseases from moving from one plant to another.
| Sanitizing Method | Effectiveness | Convenience | Environmental Impact |
|---|---|---|---|
| Diluted Bleach Solution | High | Moderate | Moderate |
| Specialized Sanitizing Products | High | High | Low |
No matter what method you pick, make sure to clean and dry your tools well before and after use. This keeps them clean and stops diseases from spreading. It keeps your garden safe.
“Proper tool sanitization is a small but critical step in maintaining a healthy and thriving garden.”
Adding these cleaning steps to your gardening routine helps you enjoy your garden more. You’ll know your tools are helping keep your plants safe from harm.
Conclusion
Regular cleaning and proper maintenance of your gardening tools are key to their long life and good performance. This guide shows you how to keep your tools in great shape. It helps prevent rust and keeps them working well for many years.
By taking care of your gardening equipment, you save money and keep your garden healthy and beautiful. It’s a smart move that pays off over time.
For tool maintenance, clean and take apart complex tools, remove dirt, sharpen blades, and store them right. Understanding the importance of proper tool care helps your tools last longer and keeps your garden healthy. These steps will help you keep your gardening tools in top shape.
Remember, looking after your gardening tools means looking after your garden’s future. With a bit of care, your tools will keep helping you create a beautiful outdoor space. Enjoy the satisfaction of a job well done and a garden that flourishes because of your efforts.
